Hubs and I determined when we were looking for a house a couple of years ago that 1. we were going to take a stab at homeschooling starting in kindergarten with all the kids 2. because of this, we wanted our home to be a fun place that the kids could explore in and wanted to be at and 3. we want our home to be a place where not only our kids want to be but their friends want to hang out because, quite frankly, we're those weird parents who like to keep tabs on our children.
Okay... so with that in mind, I made an outdoor chalkboard. This was a bit more our of necessity than anything since I bought the kids sidewalk chalk for the backyard and it ended up being more like "house chalk" and "toy chalk"...
{courtesy o' Miss Mak}
I had plenty of leftover chalkboard paint from my chalk wall at the old house so this was pretty simple to do.
and 3 - 1"x3"x8" pine boards for the frame and support.
What You'll Need:
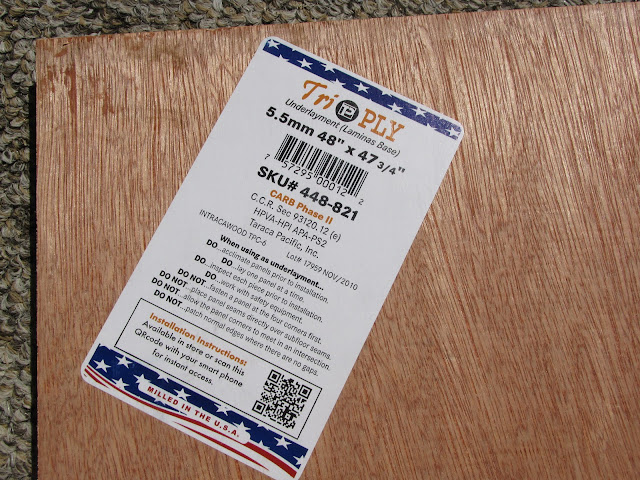
- large board for background, cut to the size you'd like {I bought a 4'x4' piece of underlay at Home Depot
- 1"x3"x8" pine boards for frame and back supports. How many will depend on how big your board is. For our 4x4 board I bought 4 of these boards.
- chalboard paint
- paint for frame (if painting and framing)
- foam roller and paint tray (foam gives a smoother finish. use what you've got on hand)
- strong tape (handy, but not necessary)
- miter saw/ miter box for frame corners
- screws
What To Do:
Roll several coats of chalkboard paint onto your board being sure to let dry in between coats. I believe I ended up with about 4 coats on this guy.
Roll or spray your 1"x3"x8" frame boards being sure to let dry between coats. I believe this took three coats.
Once frame pieces are dry, to length and miter the corners to 45 degree angles using miter saw or miter box.
Don't forget to condition the board which basically means to color all over it and then wipe it clean with a dry cloth.I'm not sure exactly why you do this but I believe it has something to do with keeping it from permanently saving the first picture you drew on it. Just a guess.
Flip your board face-down.
Screw boards into place being sure to put weight around the edges as you work so that the screws really grab the frame pieces up front.
If you don't screw well, like I didn't in a couple spots, you can put more screws in on the frame side but you risk splitting the wood like I started to here. Nothing a little touch up paint can't fix, I guess.
Finally, I added a hook that I had in my toolbox and a bucket I got from the dollar section at Target not long ago and that's where we store the chalk and cloth to wipe the board. 


No comments:
Post a Comment
I always love a good comment.