He tends his flock like a shepherd: He gathers the lambs in his arms and carries them close to his heart;
he gently leads those that have young
. {Isaiah 40:11}

Showing posts with label No-Sew Projects. Show all posts

15 January 2013

Headboard Done. Here's Some Tips.

I don't know if you happened to notice our headboard-less bed back in this post but after over a year of pillows disappearing over the edge and the morning sun waking me a bit too early in the summer we decided it was time to grow up and get a headboard. I looked on craigslist.org for several months with a couple of prospects but no real winners so once I found this post by Sarah M. Dorsey Designs I gave in and did it myself.
 I was sort of impatient in getting this project done since I had been looking so long with no success so I didn't figure out buttons for the tufting. I'm going to let this simmer for a while until I decide what I want to do anyway.
Since I'm not giving any tutorial on this I figured I would share this with you just so I could point out how simple it was and fast. I put it together in one Sunday afternoon. I'd say it took about 3 hours total. I can't speak for the supplies Sarah used on hers but I can speak to how I made this project less expensive...

WOOD: Sarah uses a larger piece of wood for her headboard that I did. I have a queen sized guest bed I'd like to create another headboard for so I decided to risk being short on wood and had the handy man at Home Depot cut a piece of 1/2" plywood in half for me so that I could squeeze two headboards out of one piece of ply. The final dimensions for our king size headboard were 24"x77". (If you decide to do this on your own, don't use anyone else's measurements. Measure your bed because they can vary.) The board pictured above drops only 2-3 inches below the mattress line but thanks to the sidearms you can't tell. 

FOAM: If you've looked, foam can be crazy expensive. Some of the foam I saw was $60 a yard!!! I was not even close to considering spending that so I went to target and bought myself twin sized egg-crate mattress pad for $13. It wasn't thick enough to get a deep Victorian looking tuft which is good because that's not what I wanted. (

FABRIC: drop cloth. I think it was between $10-$20 at Home Depot. It was just what I needed and the color I wanted.

And that's that.
Happy Tuesday!

11 January 2013

DIY Building Blocks

Do you remember the cardboard bricks that only the best church nurseries and day cares had?
I loved those things and thought they might be something CJ,  Miss Mak, and Bean would like too.
<enter my inexpensive solution with big impact>
This was the perfect time of year to start our collection as boxes flowed in to our house with the Christmas gifts. Each time the kids opened a gift that came in a box we tested the sturdiness of the box and if it passed the stability test we set it aside to wrap in wood grain contact paper which we purchased from Home Depot for about $7 a roll. The set we ended up with took three rolls of contact paper and we love the result! 
They were easy to put together and the kids love them just like I had hoped. One of the great things about the set we created was that we picked the box sizes we wanted and so we are able to make castles and forts that Hubs and I can fit into with the kids. 
{Miss Mak the princess and CJ the ferocious fire breathing dragon}
{the princess showing the dragon who's boss}
Looking back we should have given this to the kids for Christmas and saved ourselves some work finding other gifts but our pain is your gain as I highly recommend giving this a shot if you have builders in your home. You can start saving boxes now and have a huge stash for next Christmas!  


And... if you're not up for making boxes or don't have access to larger boxes, my sister was able to find sets of 40 for our kids for Christmas from Melissa and Doug. They are smaller but also much sturdier since they have cardboard supports in the middle whereas our boxes are empty and can't have weight put on them and smaller size means easier to store. {Another painful lesson learned.}
Happy Building!


16 October 2012

Photo Book for the Kids

Just a month ago I was at a wonderful friend's house in Michigan where Miss Mak and I saw a "brag book" full of pictures of the kids which was FOR the kids. Mak loved it and spent much of her time walking around with it.

I don't know if it was intentionally given to the kids or not but I know that the kids sure seemed to like it.
My guys like looking at pictures of themselves and people they know too so once I realized how cheaply I could get one together for our home it was a no-brainer for me.

$1.99 - I bought an inexpensive brag book from Target but I'm sure I could have found one at the dollar store if I had looked.
$4.81 - I printed 37 pictures from Costco at 13 cents a piece.
$6.80 - Total paid
Since I only had room for 36 pictures (37 including the cover picture) I was picky about the ones I included and was sure to pick a variety of people and things they know and recognize. Things like...
- Grandpanents
- Great Grandparents
- Our House
- Hubs and I (then and now)
- Individual pictures of us with the kids
- Pictures of the kids together at different ages...
And most importantly...the kids, especially Miss Mak (almost 3 years old), love looking at it!
Happy Tuesday!


13 August 2012

Unconventional Painting with Kids

Many of these have come in handy when I've needed something to keep the little people's hands busy.
Here's hoping you find some inspiration.

I've done this and the kids loved it. Kept them busy for a long time which means I love it too!
 Cotton Swabs by El Hada De Papel
Always handy. Why not.
Painting with Cars by Hammer & Thread
I've been meaning to do this but haven't brought myself to mess up his CJ's cars yet. It'll come.
  Marble Painting with Paint Create Explore
CJ made one of these with white paint on black paper in preschool. It's one of my favorite things he's made.
Painting with Drills by Play at Home LLC
Teach them how to work a drill in a fun way.
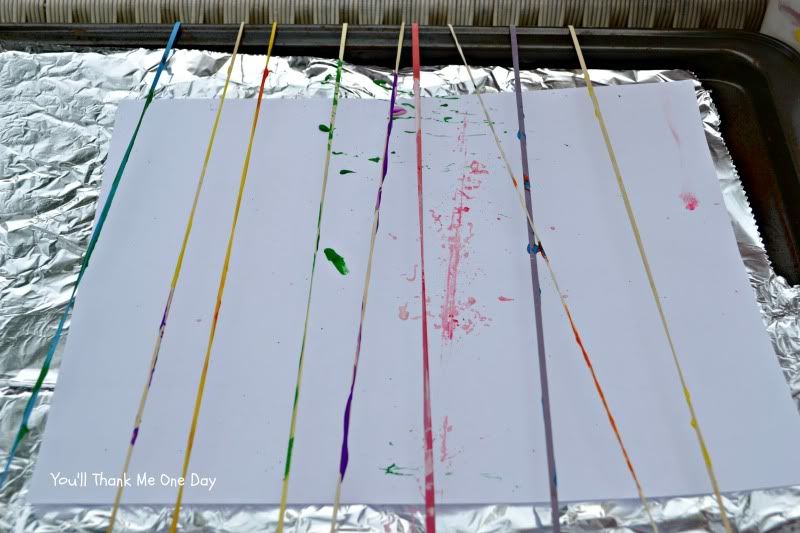
 Painting with Spaghetti by Playfully Learning 
Any excuse to make a mess, right?
 Painting with Bubbles by Ramblings from Utopia 
I did this back at summer camp. You can come up with some beautiful paper here.
 
 Painting with Your Body with Play Create Explore
I MUST do this! ASAP! How fun! 
 Painting with Straws with Little Bit Funky
We did this recently and Miss Mak really got into it. CJ had more fun with he water dropper that put the paint on the paper but either way... everybody's happy. 

So apparently there are loads of good ideas out there. I'll be back soon with some more!
Happy Monday!

02 August 2012

Outdoor Chalkboard

Just a teeny bit of background before we begin today.
Hubs and I determined when we were looking for a house a couple of years ago that 1. we were going to take a stab at homeschooling starting in kindergarten with all the kids 2. because of this, we wanted our home to be a fun place that the kids could explore in and wanted to be at and 3. we want our home to be a place where not only our kids want to be but their friends want to hang out because, quite frankly, we're those weird parents who like to keep tabs on our children.

Okay... so with that in mind, I made an outdoor chalkboard. This was a bit more our of necessity than anything since I bought the kids sidewalk chalk for the backyard and it ended up being more like "house chalk" and "toy chalk"...
{courtesy o' Miss Mak}
I had plenty of leftover chalkboard paint from my chalk wall at the old house so this was pretty simple to do. 
and 3 - 1"x3"x8" pine boards for the frame and support.

What You'll Need:
- large board for background, cut to the size you'd like {I bought a 4'x4' piece of underlay at Home Depot
- 1"x3"x8" pine boards for frame and back supports. How many will depend on how big your board is. For our 4x4 board I bought 4 of these boards. 
- chalboard paint
- paint for frame (if painting and framing)
- foam roller and paint tray (foam gives a smoother finish. use what you've got on hand)
- strong tape (handy, but not necessary)
- miter saw/ miter box for frame corners
- screws
 
What To Do:

Roll several coats of chalkboard paint onto your board being sure to let dry in between coats. I believe I ended up with about 4 coats on this guy.
Roll or spray your 1"x3"x8" frame boards being sure to let dry between coats. I believe this took three coats.
Once frame pieces are dry, to length and miter the corners to 45 degree angles using miter saw or miter box.

Don't forget to condition the board which basically means to color all over it and then wipe it clean with a dry cloth.I'm not sure exactly why you do this but I believe it has something to do with keeping it from permanently saving the first picture you drew on it. Just a guess.
Once your board is dry, put all your frame pieces around its edges and tape in place. You're not screwing them in yet so the tape holds everything while you continue to work with it.
Flip your board face-down.

Using 1"x3"x8" boards cut to the length of your board, lay the support pieces down. {I tried a few configurations to figure out how to get the best support since our board would just be leaning up against the wall and I didn't want it to sag or bow. I ended up using 4 boards. Two on the ends and two in the middle.}
Screw boards into place being sure to put weight around the edges as you work so that the screws really grab the frame pieces up front.
If you don't screw well, like I didn't in a couple spots, you can put more screws in on the frame side but you risk splitting the wood like I started to here. Nothing a little touch up paint can't fix, I guess. 
Finally, I added a hook that I had in my toolbox and a bucket I got from the dollar section at Target not long ago and that's where we store the chalk and cloth to wipe the board.


04 June 2012

A Quick Fix Chair Recover

Thankfully my mom likes to redecorate often.
She and dad are trying to make their house a little more Mission Style which means that sometimes we get their old furniture.
Yay, us!
Our most recent adoption was a tall kitchen buffet that we put in our living room as a desk.
The one I sit at to talk to you.
This one.
Right here.

Since it's so high we needed bar stools to sit at it so that we didn't stand awkwardly and uncomfortably for long periods of time like we used to at our library computers in college.
"L-U!"
I bought two chairs from the local Christmas Tree Shop but those were constantly being drug into the kitchen as the kids wanted to join me while I worked.
For a couple of months now I've been on the hunt for new ones and finally found a couple of fun ones at a tag sale down the street.
They're the perfect height and rather comfortable but the seat was kinda ugly and dated so I headed to my fabric stash... because why pay?!... and gussied them up just a pinch.
All it took was a hand held staple gun... (I think it was about $15 from the hardware store, maybe less and I've used it for TONS of projects over the years) and some fabric. I used an upholstery weight so it will last through all our wiggling around. 
First unscrewed the seat cover from the bottom of the chair.
Then I laid the fabric face-down on the floor and laid the cushion face-down over it.
I highly recommend working with larger pieces of fabric at first but if you must buy fabric and need to figure out how much you need, or for some reason must cut it before you staple it into place add 3"-4" excess on all sides because you're going to need to be able to grab and pull the fabric taught as you staple.
The key, I've found, to getting crisp corners is to work with little bits at a time and work from the sides of the corner in towards the middle of it. Just keep grabbing small pieces, pulling them, and stapling them when they are tight to the seat.
You're less likely to regret more staples to don't be stingy cause you will regret it if your fabric starts to come loose.
 Cut the excess fabric off about 1/2"-3/4" from the staples and be sure to uncover the holes to screw the seat back into place.
I have considered painting the chairs but to be honest I really like the wood grain on these guys.
Any thoughts?
Happy Monday!

30 May 2012

Another Project Done!

Hi!
Yesterday I shared this picture on Facebook...
I've made a bit of progress...
drumroll, please.......                                        
ta da!
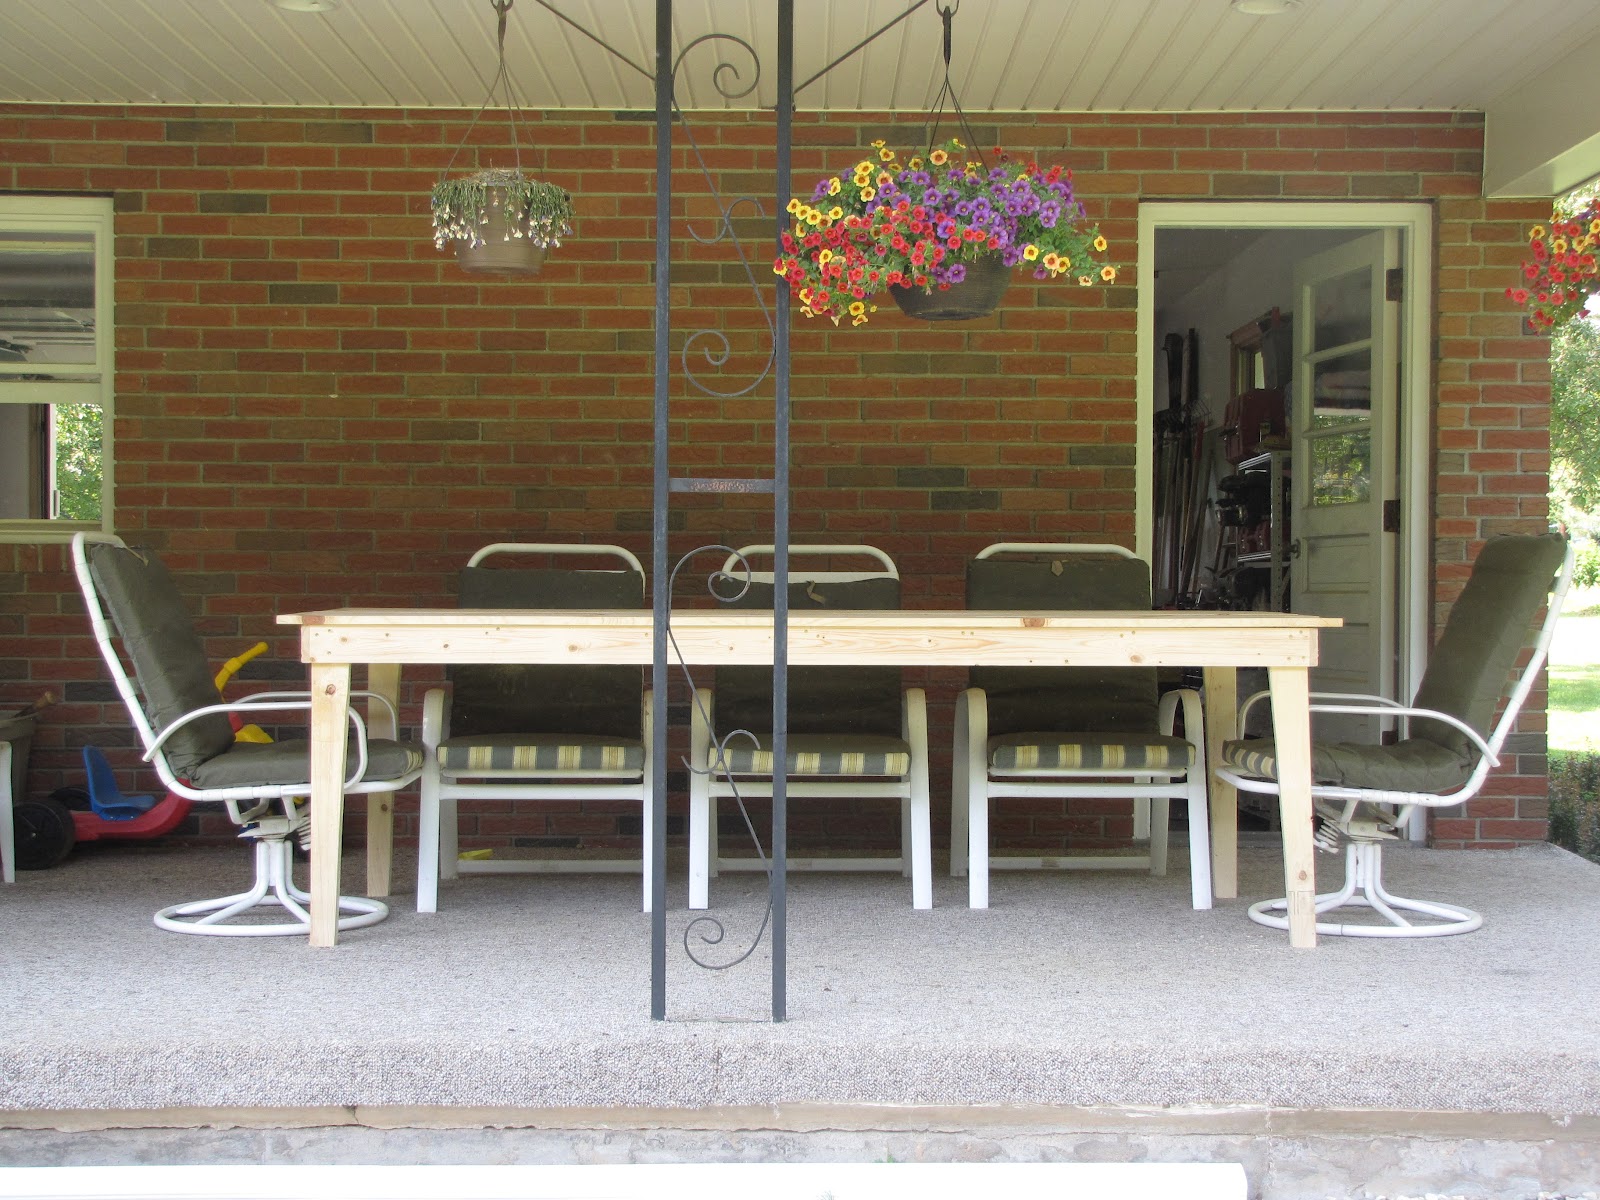
It's the perfect table for our covered porch and I am so excited to have it!
I finished it yesterday afternoon and we've already used it three times!
Now, mind you, I still have some work to do to finish it...
As you can see...
 the table sits a bit high!
The first step to finishing it is to cut down the legs so the kids can actually use it.
Not gonna lie... 
this picture cracks me up!
I still need to fill, sand, stain, and seal the top and then paint the legs but for a days worth of work
I AM THRILLED!

More info coming soon on how I did it. In case you were wondering. 

OH! And a side note about the one beautiful hanging basket and the one pathetically sad dead one...
We have a guest!


LinkWithin

Related Posts with Thumbnails