He tends his flock like a shepherd: He gathers the lambs in his arms and carries them close to his heart;
he gently leads those that have young
. {Isaiah 40:11}

08 October 2010

{Roasted-Chicken Noodle Soup}

I hate to waste leftovers and we had plenty from our roast chicken the other night. {Hubs and I turned on the TV and I sat down on the living room floor with a bowl and a towel and pulled all the extra meat off the bird}. Then I found this delicious, hearty recipe from Cooking Light....

Dee-licious!

What You'll Need:
2  teaspoons  olive oil
1  cup  chopped onion
1  cup  diced carrots
1  cup  sliced celery
1  garlic clove, minced
1/4  cup  all-purpose flour
1/2  teaspoon  dried oregano
1/4  teaspoon  dried thyme
1/4  teaspoon  poultry seasoning {I skipped this}
6  cups  low-salt chicken broth
4  cups  diced peeled baking potato
1  teaspoon  salt
2  cups  diced leftover roasted chicken
1  cup  evaporated skim milk {I used whole milk}
4  ounces  (2 cups) uncooked wide egg noodles
Fresh thyme (optional)

What To Do: 
Heat olive oil in a Dutch oven over medium heat. Add chopped onion, carrots, celery, and garlic clove; sauté 5 minutes. Sprinkle flour, oregano, thyme, and poultry seasoning over vegetables, and cook 1 minute. Stir in broth, potato, and salt. Bring to a boil; reduce heat, and simmer, partially covered, 25 minutes or until potato is tender. Add roasted chicken, milk, and noodles, and cook 10 minutes or until noodles are tender. Garnish with fresh thyme, if desired.

07 October 2010

{Ina's Perfect Roast Chicken}

If you've got some time on a cold rainy day, a few basic fresh ingredients, and you like yummy food, this recipe is for you! 

 
  Perfect Roast Chicken 

What You'll Need:   
1 (5 to 6 pound) roasting chicken 
Freshly ground black pepper
1 large bunch fresh thyme, plus 20 sprigs
1 lemon, halved
1 head garlic, cut in half crosswise
2 tablespoons (1/4 stick) butter, melted
1 large yellow onion, thickly sliced
4 carrots cut into 2-inch chunks
1 bulb of fennel, tops removed, and cut into wedges
Olive oil

What To Do: 
Preheat the oven to 425 degrees F. Remove the chicken giblets. Rinse the chicken inside and out. Remove any excess fat and leftover pin feathers and pat the outside dry. Liberally salt and pepper the inside of the chicken. Stuff the cavity with the bunch of thyme, both halves of lemon, and all the garlic. Brush the outside of the chicken with the butter and sprinkle again with salt and pepper. Tie the legs together with kitchen string and tuck the wing tips under the body of the chicken. Place the onions, carrots, and fennel in a roasting pan. Toss with salt, pepper, 20 sprigs of thyme, and olive oil. Spread around the bottom of the roasting pan and place the chicken on top.
Roast the chicken for 1 1/2 hours, or until the juices run clear when you cut between a leg and thigh. Remove the chicken and vegetables to a platter and cover with aluminum foil for about 20 minutes. Slice the chicken onto a platter and serve it with the vegetables.

06 October 2010

Quick! Get your printer ready!


I'd like to say that I have special "in" with Oprah and Martha Stewart but I don't. However, I am blessed to be friends and cousins with the wonderful Miss Lyla who shared a link to a 50% off coupon for one Martha item at Michals. The catch... you have to print it before midnight tonight {Wednesday the 6th}.
So click here and get 'er done!
Oh! And be sure to thank Lyla!

... the above message is a little extra "something" for you, today 
... if you're a momma of a little one, under one year... keep scrolling down ... 

Wonder Weeks

If you haven't heard of it and you have a little one, under a year,  this could be a sanity saver. At times, it has been for me.

The following is an introduction directly from The Wonder Weeks' website that explains the premise...


This world wide bestseller:
  • Will save your sanity
  • Help your baby to get the most out of his development
Ever wondered why your baby drives you crazy during certain times? Or, that no matter what you do, you can’t seem to make him happy or comfort him? Or, that he doesn’t eat well; doesn’t sleep well?
Have you ever thought – based on your child’s erratic behavior – that there is something wrong with your parenting skills?
Most probably you can answer a couple of these questions with resounding ‘YES!’ We know this because decades of scientific research have shown that all babies go through the same fussy phases at the same time. Frans Plooij, Ph.D., and author of the worldwide bestseller The Wonder Weeks spent almost 40 years exploring the reason and timing of these fussy phases all babies go through during their first years.
Here’s the good news! You, dear parent, are doing nothing wrong, and there is nothing wrong with your baby. On the contrary: the fussy phases ARE good news! These fussy phases signal great and drastic changes your baby’s mental development. During these times, his brain is giving him new possibilities. So many possibilities, in fact, that the world around him seems totally different and new. No wonder he is fussy! He needs to get grip on this ‘new world’ suddenly in front of him. As a result, he acts out and becomes more Clingy, Cranky and Cries more.
During a leap it is possible your baby:
  • Eats less
  • Sleeps less or wakes up a lot of the times
  • Seems to go back in his development in stead of forth
  • Cries more
  • Is cranky
  • Clings to you all the time
  • Is ill more often
  • Is not satisfied, no matter what you do.
The Wonder Weeks gives you a “heads up” as to when these periods are expected and explains to you what is going on in the head of your child. Forewarned is forearmed! By knowing what is changing in the mental development of your child, you can help him go through these difficult phases and it will help you as you know why he is not the easiest baby in the world right now. It’s no wonder that new parents everywhere who have read the book calls it a “sanity savior.”


I don't own the book, I don't know everything about the research behind these results but I can tell you that it is almost always accurate for Miss Mak and was for CJ too.
They even broke it down into a handy-dandy little chart which is basically all I use. Honestly, I don't really pay attention to what the developmental change is, rather I use it to explain why my little munchkin is temporarily unbearable and how long until they're wonderful again.
Wonder Weeks PDF {please, ignore the giant bronze boob!}

I hope this helps! 

05 October 2010

Baby Food {6+ months}


Food Mill food started at 6 months: 
apricots
apples
avocados
bananas
blueberries
green beans
nectarines
peaches
pears
peas
plums
prunes
sweet potatoes

One thing I have to say about the food mill is that if Miss Mak can eat it at this age, I can puree it in the food mill. She's had bits of our dinner, meats, pastas, etc. right along with us at dinner time. I also prefer to give her raw fruits and veggies if I can. The more you cook or process a food the more nutrients you take out of it. I also leave the skins on for the same reason.

Puree is too thick? 
Miss Mak doesn't like thick foods. She is a super picky eater has a delicate palette and  I usually end up thinning out her pureed foods. If you find yourself in this predicament, try adding pumped breast milk, formula, fruit juice left over from steaming, or just plain ol' water. {I'm a big fan of the breast milk or fruit water from steaming but I often use water}

To buy or not to buy organic fruits and veggies. {First, my stance on organic... buying organic produce is a preference, not a must.Our family happens to prefer it but if you read on, you'll see that we aren't die-hard about it... we just implement little changes that can go a long way over time. With that being said...} I have heard from a couple of different places that you can buy non-organic fruits and veggies and just wash them because the pesticides don't seep into the skin. Then I found this article from the Canadian Living website and it got me thinking. Our family can't afford to buy all organic produce so we are careful to buy local or grow it ourselves. And yes, I do buy pre-made baby food on occasion for convenience's sake from time to time {specifically prunes which I don't care to make at home} but when I do, I buy organic baby food. 
Something to think about... a lot of the chemicals put on produce are for preservation for long trips, i.e. grown in California, shipped to Connecticut. By simply buying local you can drastically cut down on your pesticide exposure.


Grains: 
We have steered away from too many grains with Mak. For one thing, I recently read that little babes can't properly digest grains under one year of age. Miss Mak, specifically, has a easily disrupted digestive system and has a hard time pooing no matter what we feed her. CJ, who has a digestive system of steel, always bound up when we gave him rice cereal so we moved to oatmeal and that helped tremendously. So if Mak has any grain, it's almost always oatmeal.

Foods that can bind:
applesauce {who'da thought?}
bananas
potatoes {white and sweet}
rice cereal 
Foods that help baby"go":apple juice
avocado
breastmilk
grapes
peas
prunes
prune juice
lots of liquids
* Benefiber - we were given the okay to use this by our pediatrician. We started by adding 1/2 tsp to two meals per day and were told that if it didn't help, make it 1 tsp two meals per day and keep adding 1/2 tsp until she was going regularly. Mak is somewhere between 1 tsp and 1 1/2 tsp 2 meals per day.

** This is not a full repertoire of all things baby food. This is my experience. For more info and wonderful recipes, I highly recommend the site wholesomebabyfood.com.

04 October 2010

{Yummy Shrimp}

 This recipe is technically called "Cajun Shrimp" but I don't want you to be misled. Not only do I not get what's so "Cajun" about it but I don't like spicy things {mild salsa is too hot for me}and "Cajun" gives the idea of spicy or hot. Admittedly, this has a little bit of heat but that can easily be left out. 
Beyond that, this recipe is just plain yummy! 

What You'll Need:
2 cups heavy whipping cream
1 tablespoon chopped fresh basil {1 tsp dried works too}
1 tablespoon chopped fresh thyme {1 tsp dried works here too}
2 teaspoons salt
2 teaspoons ground black pepper
1 1/2 teaspoons crushed red pepper flakes {here's your heat}
1 teaspoon ground white pepper {I skip this}
1 cup chopped green onions {optional}
1 cup chopped parsley {1-2 T dried works}
1/2 pound shrimp, peeled and deveined
1/2 pound scallops {I do 1 pound of shrimp and skip these}
1/2 cup shredded Swiss cheese
1/2 cup grated Parmesan cheese
1 pound dry fettuccine pasta

What To Do: 
Cook pasta in a large pot of boiling salted water until al dente. 
Meanwhile, pour cream into a large skillet. Cook over medium heat, stirring constantly, until just about boiling. 
Reduce heat, and add herbs, salt, peppers, onions, and parsley. 
Simmer 7 to 8 minutes or until thickened. 
Stir in seafood, cooking until shrimp is no longer transparent.
Stir in cheeses, blending well. 
Drain pasta. 
Serve sauce over noodles.

CJ really likes this recipe. We just cut the shrimp into chunks and he cleans his plate.

01 October 2010

4 Town Fair

I'm sure, by now, you understand that I have a love affair with the fall season. Everything about it makes me smile including....The 4 Town Fair!
 
Our tiny town, and three other surrounding tiny towns, get together each year and do a fair to celebrate... well, everything! I mean that...

If you can preserve fruits or veggies you can get a prize. 
 If you are able to find another use for those veggies you can get a prize.
If you sew something pretty {or not so pretty}... prize! 
If you draw a picture you can win a prize. 
If you take a picture with your camera, that's right, a ribbon for you! 
If you have a pet rabbit you could win a prize. 
If you have a strange looking chicken or that chicken can lay a dozen pretty eggs, you, my friend, don't go unnoticed!
These fairs are so good for self-esteem! 

At this rate, they should be offering solid gold metals to any domestic mother who lives in the area! 

And, of course, my all time favorite thing about the local fair... the piglet racing!!! Apparently Miss Mak enjoys it too!

30 September 2010

{Chocolate Granola}

I found this recipe in the Family Fun magazine.
I love how the chocolate is drizzled over all the healthy stuff so that you won't even notice you're eating good stuff! 
Quick, easy and yummy!
 
What You'll Need:
3 c of nuts {peanuts, almonds and/or pecans}
1/2 c sunflower seeds
1/2 c coconut flakes
1 c raisins
1/2 c dried cranberries or cherries
1 c chocolate chips
What To Do: 
Mix together the nuts, sunflower seeds, coconut flakes, raisins, and dried cranberries or cherries. Spread the mixture on a baking sheet lined with waxed paper.
Melt the chocolate chips in a microwave. Pour the chocolate over the baking sheet in ribbons. Stir to coat everything. Let the chocolate cool, then break the mix into pieces and pack it in individual containers. Makes 12 servings.
 
Recipe Here 

29 September 2010

{Chicken Pot Pie}

This is our "go-to" meal in our home. If you have a baby and live near me... this is showing up at your door! If you're far away from me or baby-free then you here it is to make on your own. {It takes about 1 hour to make}
What You'll Need: 
1/3 cup margarine or 1/3 cup butter 
1/3 cup flour 
1/3 cup chopped onion 
1/2 teaspoon salt 
1/4 teaspoon pepper 
1 3/4 cups chicken broth 
2/3 cup milk 
2 cups cut up cooked chicken 
1 (10 ounce) package frozen mixed vegetables 
2 prepared pie crusts (1 top crust and 1 bottom crust) 
What to do:   
Heat butter over low heat until melted.
Blend in flour, onion, salt and pepper.
Cook over low heat, stirring constantly until smooth and bubbly.
Remove from heat.
Stir in broth and milk.
Heat to boiling; stirring constantly. Boil and stir one minute.
Stir in chicken and veggies. (Add in 1 - 2 diced cooked potatoes if you like!).
Reserve.
Line pie plate with prepared bottom crust.
Pour in filling.
Top with top crust. Cut slits in center to vent. Flute edges.
Cook uncovered in 425°F oven until crust is brown; approximately 30-35 minutes.

28 September 2010

My Tibute to Papi {Gulp!}

We did it. 
We just signed on dozens of dotted lines and today we are "proud" owners of a mini-van!
Ahhh!
Even before we were married, Hubs and I agreed that we weren't "mini-van people" and just "make do" with SUVs.
Boy, were we wrong.
Our wonderful green monster, aptly named "Papi", has been good to us {a.k.a. Honda Pilot}. He has taken us from South Carolina to Maine to Pennsylvania and many places in between with ease and comfort. He was our first big purchase as a married couple and has served as a travel mate for Hubs, myself, CJ, Miss Mak, Chesser and Mia. He has never given us a problem. Never broken down. Never malfunctioned. Not so much as a light has burned out on him. He was/is the best car a family could ask for. So why are we handing him over to the Honda dealership today? Because we someday plan to be a bigger family. Sweet Papi just can't contain rambunctious little ones the way a spacious mini-van can. So it is with great sadness that I publicly bid "adieu" to my favorite vehicle and enter a necessary {so we're told} season of our lives. I can tell you that I already look forward to a small and sporty SUV once our kids grow up and move out.

There is a season for everything!

27 September 2010

Sorry I missed you...

The past few days have been rather busy so I lost track of myself and took a day off. 
I'll be back tomorrow. 
Don't miss me too much!


24 September 2010

{No Bake Cookies {Preacher Cookies}}

I still remember the first time I had these cookies. I was in 4th grade at a friend's house. Her mom made these for us and I was enamored with how quick and easy they were to make. For some reason I got to calling them "preacher cookies" but whatever the reason, it is a fact that the two families that I know of who make them are both "preacher families". Anyway, as promised, they require no oven. Just 10 minutes, a stove top, and a little patience to let cool.

What You'll Need: 
2 c sugar
1/2 c butter
3 T cocoa
1/2 c milk
1 t vanilla
3 c quick oats
1/2 c peanut butter {all natural works}

Mix sugar, butter, cocoa and milk in a sauce pan and bring to a boil over medium heat stirring constantly. Boil for 1 minutes and remove from heat. Add oats, vanilla and peanut butter directly into pan and mix. Drop by the spoonful onto waxed paper and let cool. 
 

{The most difficult step here is to wait to let them cool. Chocolate and peanut butter are hard to resist!}

23 September 2010

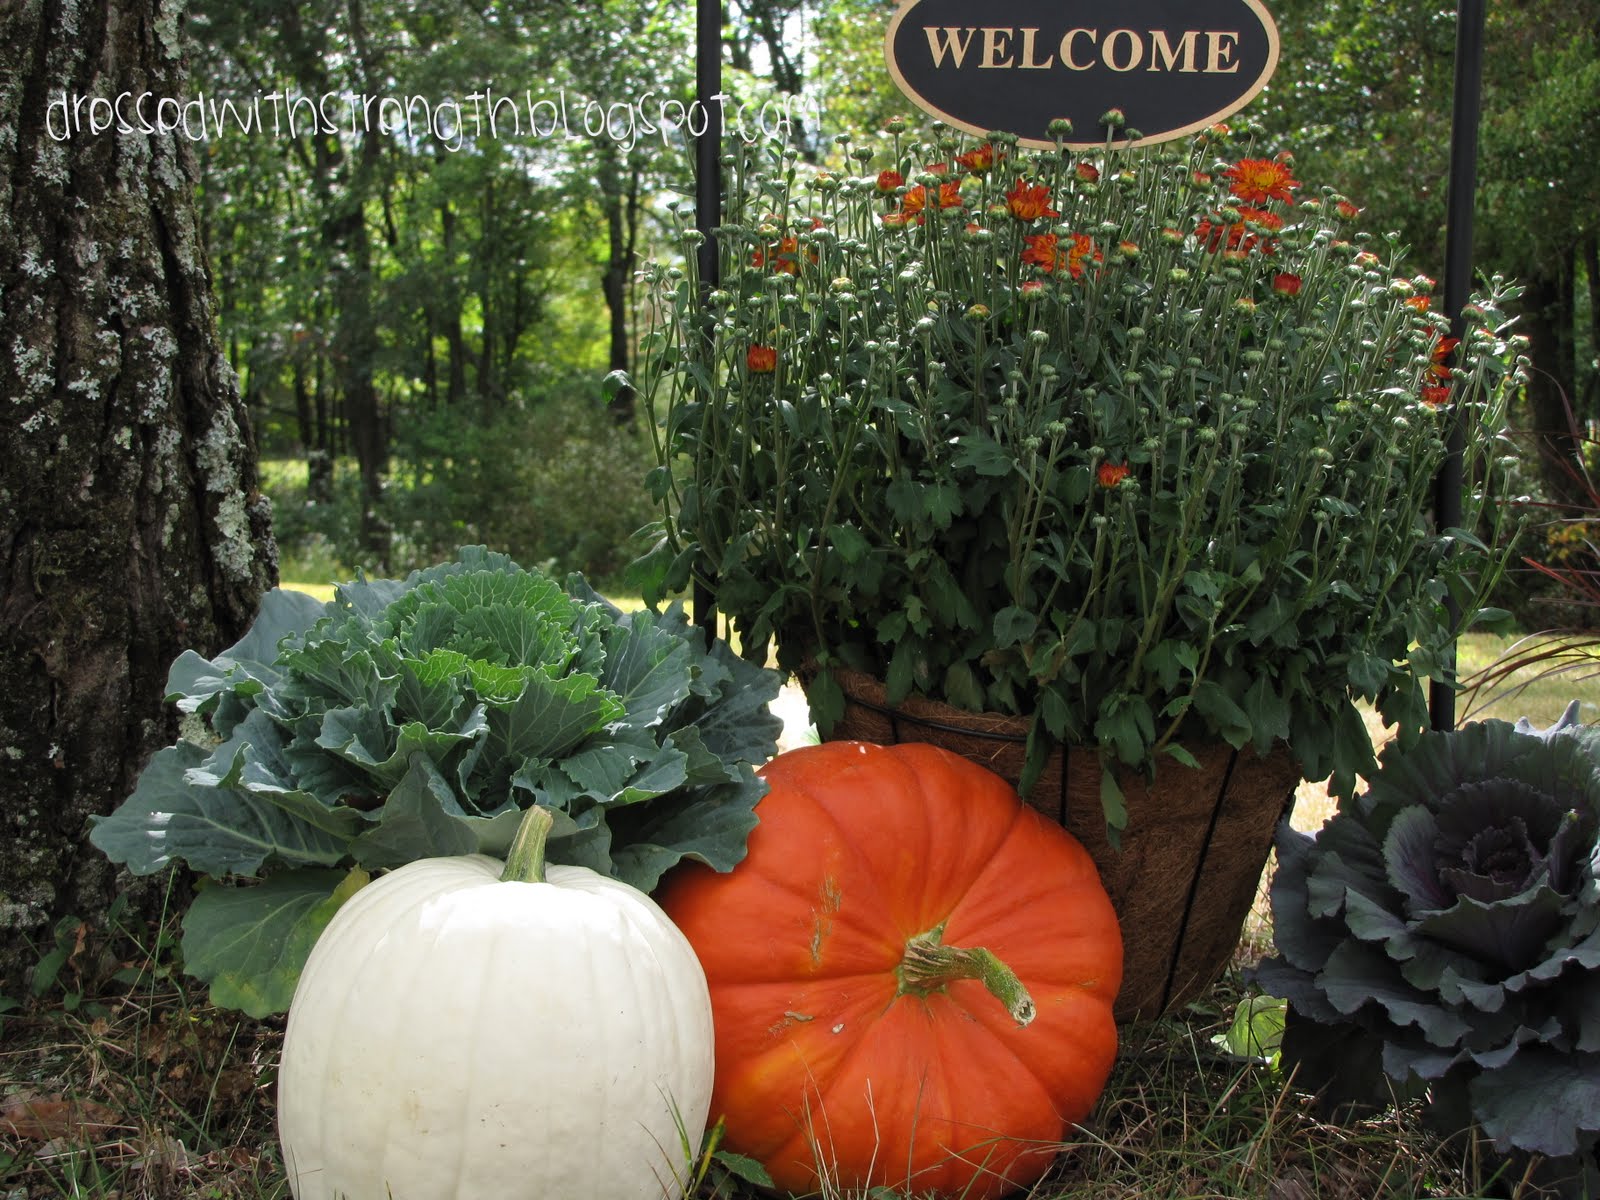
It's Fall Around Here

It's here! It's here! It's here! 
We appreciate the decor... 
 We smell the decor...
 
Then, we apparently pick our nose with the decor.

 And a special "congratulations" to black cow number 2 on "throwing a great calf" last week!  
{he he...throwing a calf!!}
Enjoy the  season!

22 September 2010

{Tangy BBQ Beef Sammies}


What You'll Need: 
3 c chopped celery
1 c chopped onion
1 cup ketchup
1 cup barbecue sauce
1 cup water
2 tablespoons white vinegar
2 tablespoons Worcestershire sauce
2 tablespoons brown sugar
1 teaspoon chili powder
1 teaspoon salt
1/2 teaspoon pepper
1/2 teaspoon garlic powder
1 boneless beef chuck roast (3 to 4 pounds), trimmed and cut in half
14 to 18 hamburger buns, split

What To Do:
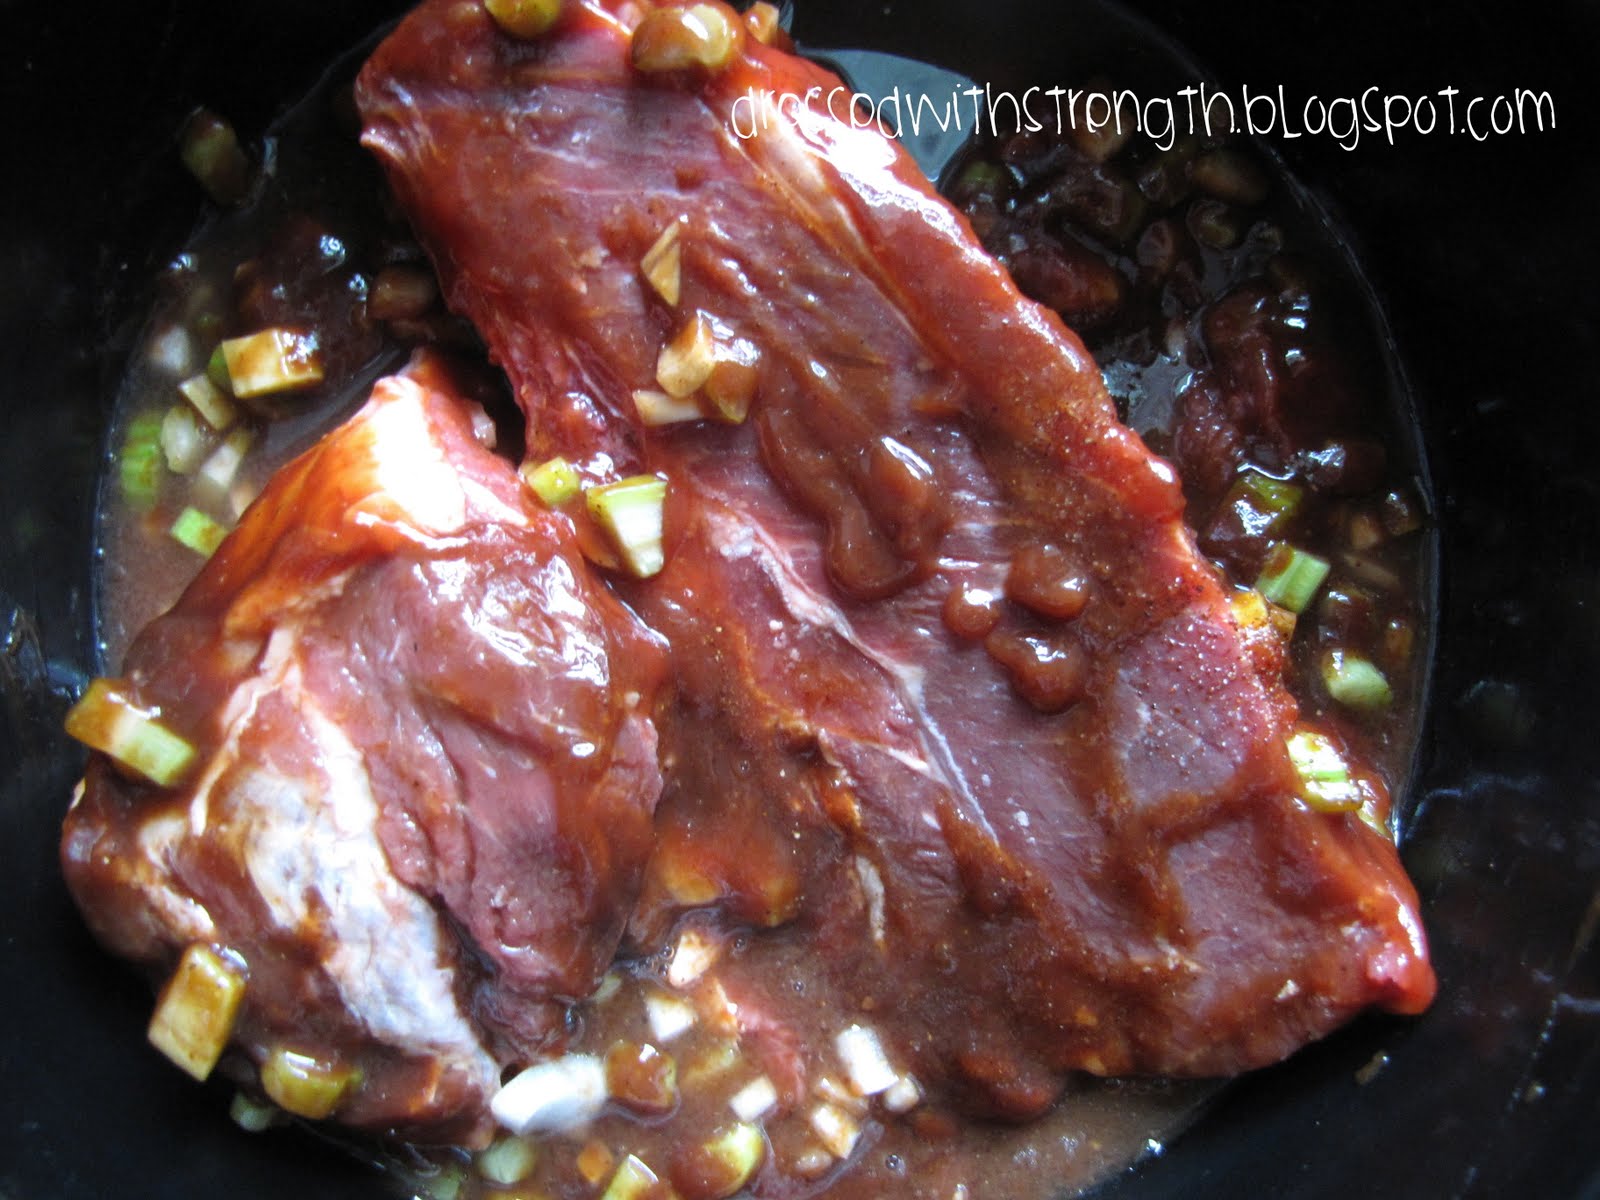
In a 5-qt. slow cooker, combine the first 12 ingredients. Add roast. Cover and cook on high for 1 hour. Reduce heat to low and cook 7-8 hours longer or until meat is tender.
Remove roast; cool. Shred meat and return to sauce; heat through. Using a slotted spoon, fill each bun with about 1/2 cup of meat mixture. Yield: 14-18 servings.


21 September 2010

Pintuck Pillowcase


I have always thought this look was classy so, of course, I assumed it must be difficult to do. However, after analyzing a pintucked blanket in a store I realized that this is not so! In fact, it's embarrassingly easy! If you iron a crease and sew a straight line... well, lots of them, really... then you can do this!

What You'll Need: 
fabric {linen or silk look best, in my opinion}
pre-fab pillow or batting

OnE: Cut your top fabric about 5" larger than your pillow top. I started with a 19"x18" square and ended up with a 16"x15". With this project, give yourself more than you think you need because you can always trim it down however you cannot add.

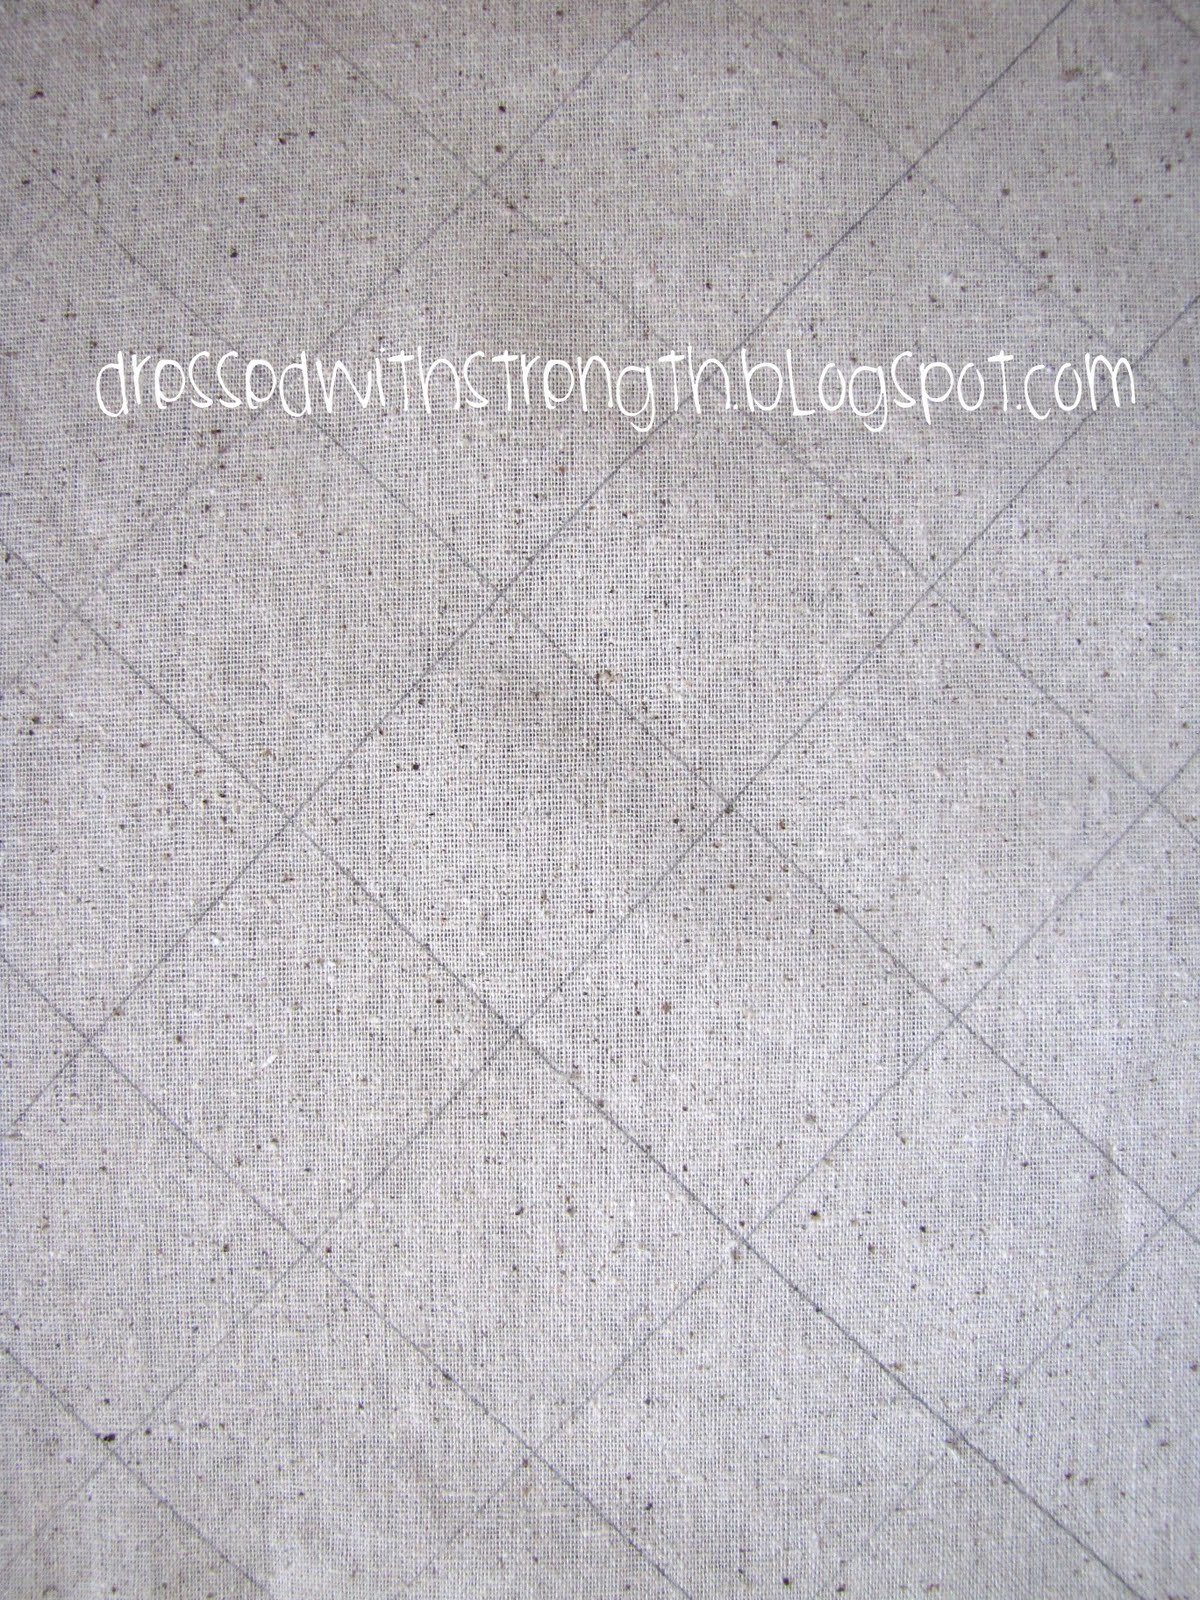
TwO: Using a straight edge and a pencil or water soluble pen, on the back of your fabric, draw a 45 degree angled line and then lines every 2" from that line. Then turn your fabric to a 90 degree angle and repeat.

THrEe:  Fold your fabric onto one of your lines and press to create a crisp seam. {If you used pencil, keep your lines to the back and make your creases on the top so you don't see the pencil marks when you're done.} Do this for all your lines going in one direction.
 {Because of the way I was working, I pressed half 
of the lines going in one direction, sewed them into place,
then did the other half. This kept me for "un-ironing" 
creases I had already made.}


FoUr: Using a 1/8" or 1/4" seam, sew all your creases into place. 

FiVe:  Once you have completed one direction, flip your piece, right-side-down, and iron. This will give you a flatter working surface to complete the lines in the opposite direction.

SiX: Repeats steps THrEe and FoUr for the lines going in the opposite direction.

SeVeN: Iron your piece from the back again.


EiGHt: Measure your pre-fab pillow from side-to-side and top-to-bottom.
Add 1" for seam allowance on both measurements.
 {My pre-fab pillow measured 15"x14" 
so I cut my top to be 16"x15"}

NiNe: To cut your two back pieces {A and B} Cut "A" the same length as your pillow top and 4" wider than half your width. Cut "B" the same length as your pillow top and 1" wider than half your width.
  {Confused? My length was 14" and my width was 15". 
I cut my "A" piece to14"x11.5" 
and my "B" piece to 8.5"}

TeN: On both your "A" and "B" pieces, fold one side of your width back 1", press into place and sew down using 1/2" seam. {click picture to enlarge}

EleVen: Pin your "A" piece down first. Then pin your "B" over it.
TWeLvE: Sew around the entire edge using a 1/2" seam.
THirTeEn: Turn and stuff.

{Note: I made this for a pre-fab pillow that I tucked into the case but you could easily do this with just batting by cutting a back piece that is the same size as your finished top, putting them right-sides-together, stitching, using 1/4" seam, and being sure to leave a 3"-5" gap for turning and stuffing. Hand sew shut.}

LinkWithin

Related Posts with Thumbnails