

I have always thought this look was classy so, of course, I assumed it must be difficult to do. However, after analyzing a pintucked blanket in a store I realized that this is not so! In fact, it's embarrassingly easy! If you iron a crease and sew a straight line... well, lots of them, really... then you can do this!
What You'll Need:
fabric {linen or silk look best, in my opinion}
pre-fab pillow or batting
OnE: Cut your top fabric about 5" larger than your pillow top. I started with a 19"x18" square and ended up with a 16"x15". With this project, give yourself more than you think you need because you can always trim it down however you cannot add.
TwO: Using a straight edge and a pencil or water soluble pen, on the back of your fabric, draw a 45 degree angled line and then lines every 2" from that line. Then turn your fabric to a 90 degree angle and repeat.
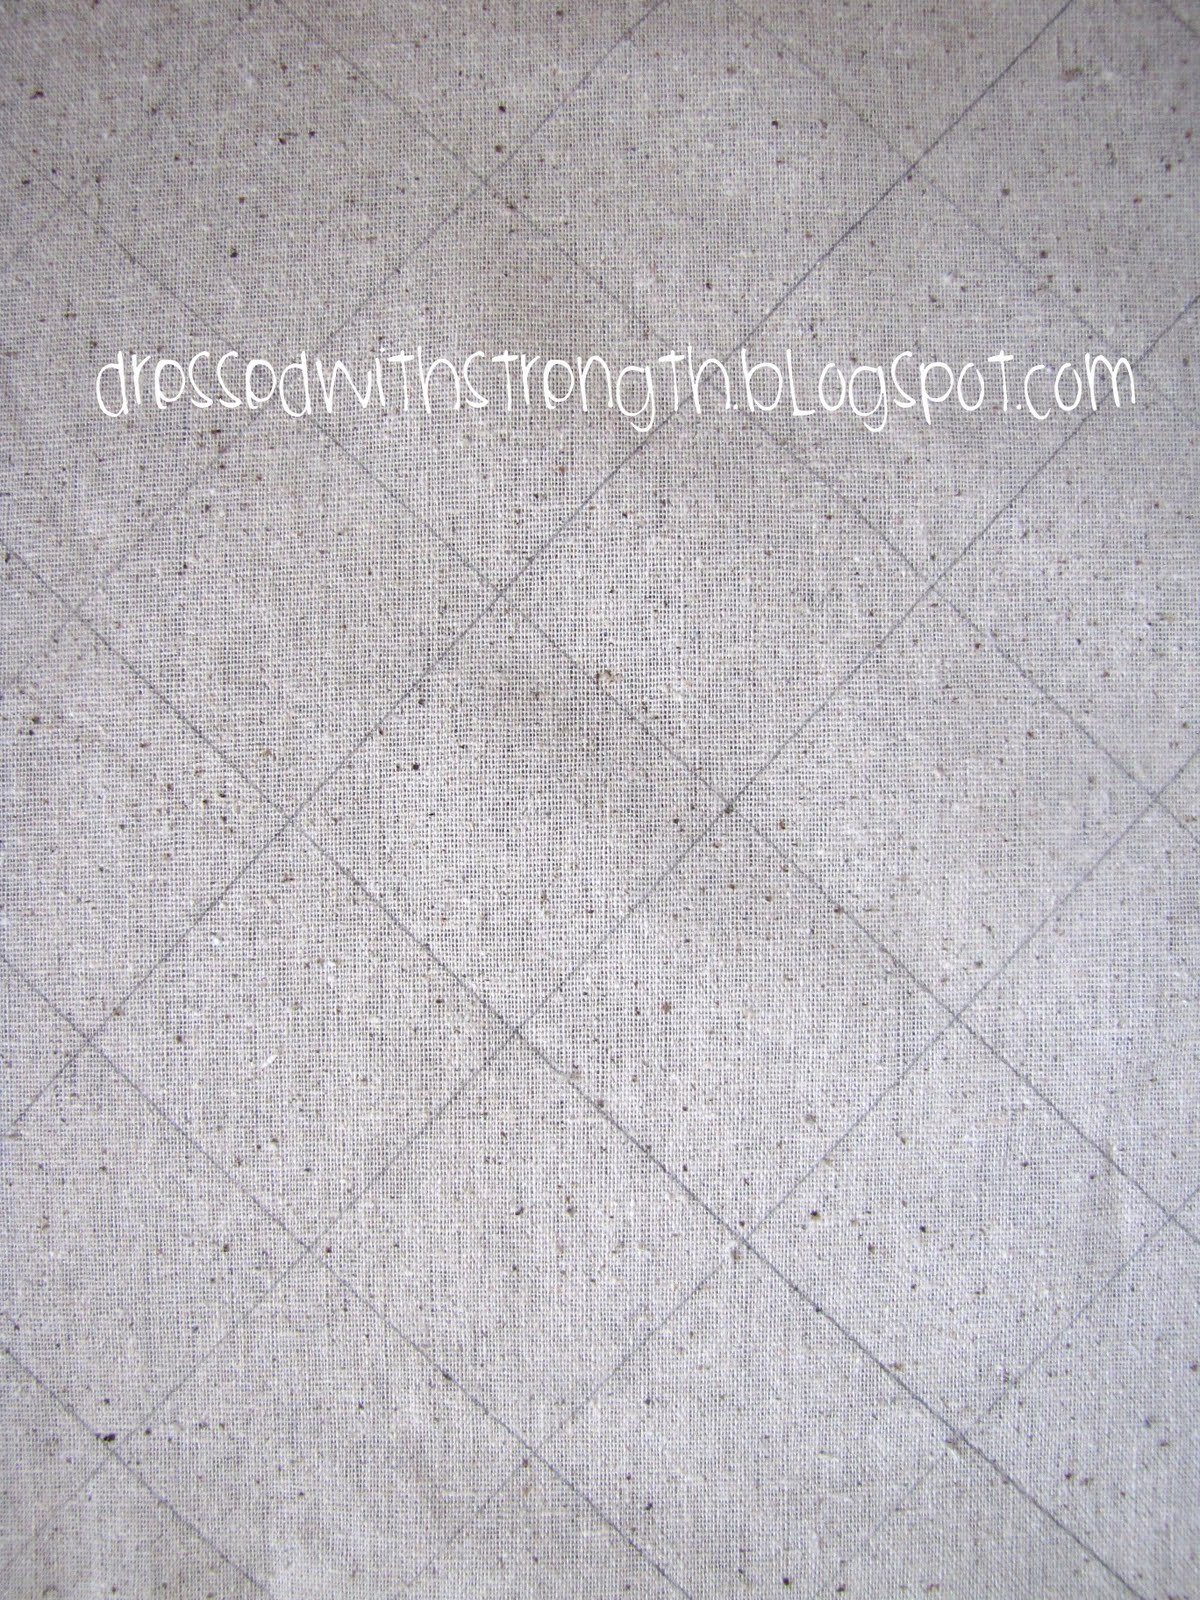
THrEe: Fold your fabric onto one of your lines and press to create a crisp seam. {If you used pencil, keep your lines to the back and make your creases on the top so you don't see the pencil marks when you're done.} Do this for all your lines going in one direction.
{Because of the way I was working, I pressed half
of the lines going in one direction, sewed them into place,
then did the other half. This kept me for "un-ironing"
creases I had already made.}

FoUr: Using a 1/8" or 1/4" seam, sew all your creases into place.


FiVe: Once you have completed one direction, flip your piece, right-side-down, and iron. This will give you a flatter working surface to complete the lines in the opposite direction.
SiX: Repeats steps THrEe and FoUr for the lines going in the opposite direction.
SeVeN: Iron your piece from the back again.
EiGHt: Measure your pre-fab pillow from side-to-side and top-to-bottom.
Add 1" for seam allowance on both measurements.
{My pre-fab pillow measured 15"x14"
so I cut my top to be 16"x15"}
NiNe: To cut your two back pieces {A and B} Cut "A" the same length as your pillow top and 4" wider than half your width. Cut "B" the same length as your pillow top and 1" wider than half your width.
{Confused? My length was 14" and my width was 15".
I cut my "A" piece to14"x11.5"
and my "B" piece to 8.5"}

TeN: On both your "A" and "B" pieces, fold one side of your width back 1", press into place and sew down using 1/2" seam. {click picture to enlarge}
EleVen: Pin your "A" piece down first. Then pin your "B" over it.

TWeLvE: Sew around the entire edge using a 1/2" seam.
THirTeEn: Turn and stuff.

{Note: I made this for a pre-fab pillow that I tucked into the case but you could easily do this with just batting by cutting a back piece that is the same size as your finished top, putting them right-sides-together, stitching, using 1/4" seam, and being sure to leave a 3"-5" gap for turning and stuffing. Hand sew shut.}

I always thought these were very classy too! Definitely going to save this for a later date!
ReplyDelete