He tends his flock like a shepherd: He gathers the lambs in his arms and carries them close to his heart;
he gently leads those that have young
. {Isaiah 40:11}

16 September 2010

From Picture Frame to Dry Erase

Fact: dry erase markers work on glass. 
Fact: this means many items in your home are fair game.
Fact: not all things that you can write on will look as good at this.
Rummage through your mom's forgotten things... Stop by a tag sale... Pick through the trash... However you do it, find yourself a picture frame that has glass in tact and needs some love. {...in my case, "thanks, Mom!"}

Now would be a good time to disassemble your picture frame, clean the glass, prime and paint it.
If you have a matte... pick out two fabrics. 
If you don't... pick one. 
Be sure whatever fabric you pick for the background is light and non-distracting so that whatever you write on it will be clearly visible.

For your background/neutral fabric, lay in onto your backboard and cut it to fit. Double sided tape will keep it into place as will rolling single sided tape or you could forget adhering it all-together. Once it's in the frame, it should stay put.

If you do have a matte....
Lay your fabric right side down on your work surface and center your matte, face-down, and tape the outer edges of fabric onto the matte, just to keep it from shifting. 
Cut an "x" through the middle of your fabric so that each point ends in a corner. 
Cut to shorten your side pieces as shown below. 
Tape your fabric back to fit snugly around your matte. 
{Tape may seem flimsy but you're only using it to keep your fabric in place until you reassemble your frame. That should hold everything in place afterward.}
Ta-Da!
Now it's time to put it all back together. 
Got the frame on the table facing down? 
Did you put the glass back in first? 
Then the mat? 
Is the back in place and secured? 
Well then, you're done!

15 September 2010

Soft n' Sweet Baby Blanket

It seems as though babies are everywhere these days. Like my sister said, "it's like once you buy a new car, you notice that everyone else has the same one". Once I got pregnant with CJ my eyes were opened to a whole new world of prolific women! Praise the Lord! It's wonderful!

This is also a wonderful thing because it gives me several excuses to sew and who doesn't love that?! 

Soft n' Sweet Baby Blanket 

What You'll Need: 
1 yard of center square fabric {I usually go for a two tone white or off white}
1/4" yard of 5 coordinating fabrics equaling 1 1/4 yards for the border {see note}
1 1/4 yard backing fabric {I prefer microfiber or Minkie}
Heat n' Bond or Wonder Under {a.k.a. fusible web}
Colored Thread {optional}

How To Do It:
OnE: Cut (1) 30"x30" piece from your center square fabric
Cut 5 1/2" strips from your border fabrics

TwO: Cut your 5 1/2" strips into 9" increments.

Note: if you buy 1/4 yard {9"x45"} of fabric you can cut it as 
shown below  in 5 1/2" strips OR You can buy a little over 1/4 yard 
and cut it as shown  in the second illustration}

THrEe: Lay out you border squares into one long row in a pattern you like. Sew your pieces together using 1/4" seam.

FoUr: Iron your seams flat {tip: always iron your seams to the darker fabric otherwise it may show through}

{The following steps are easy to do but hard to explain 
so I whipped out my handy-dandy paper and marker 
and hopefully that will alleviate, not create, confusion.}


FiVe: Lay your center square right-side-up on your work surface. Starting at one corner of your center square, lay your border fabric right-side-down onto your center square and match up the ends so they're fairly flush. You can clean up your edges after you sew it into place.
Pin into place.
Sew using 1/4" seam.
SiX: Lay your piece flat on your ironing board and press your seams.
SeVeN: Flip your piece over and cut the excess fabric flush with the side of the center square.
So now your top should look like this...
EiGHt: {enter diagram to illustrate next steps}
If you'll notice, you just finished steps one and two.
For steps three through eight you'll do the same thing but this time you'll start your border fabric on the end of the border you just attached {make sense?}.
 {If you don't like how the fabrics are lining up you can always shift the border around before pinning it to get the look you like.}
Alrighty! Your top should look like this now.
You could leave it like this. Or,...
 ... using this tutorial for applique on shirts, make it personal.
And to finish... 
NiNe: Lay out your backing right-side-up on your work surface. 
Lay your finished top right-side-down on top of the backing. 
Pin around the perimeter to avoid shifting while sewing.
Cut around the edge of your top, leaving an inch or so for "oops"s.

TeN: Sew a 1/4" seam around the edge of your blanket being sure to leave at least a 6" opening somewhere for turning. 
After sewing, trim any excess fabric around edges and corners and turn. 

EleVeN: Lay flat and top-stitch 1/4"-1/2" from the finished edge. 
{If you'd like that added stability, also stitch around the inner portion of the border where it meets the center square.} 

The possibilities are endless with this project so have fun! 

Chopping Onions {Kitchen Tip}

I love the flavor of onions in a dish.
Unfortunately, onions make me cry.
I like to be done with them as quickly as possible. 
Here's how I do it.

Cut off the bulb {papery end}end of the onion.
Put the onion on the flat end you just cut off and cut the onion in half.
Peel.
Lay one half down on its large flat surface and, being sure not to cut through the root end of the onion} make slices that radiate out from the center like so...
From the top, slice across the onion and you will have great little pieces of onion for sauteing, stews, soups, etc.


For more information: One of my favorite chefs, Alton Brown, did a special on cutting, slicing, chopping, etc. This only has a short "blip" on cutting onions but there are other interesting cutting tips in here if you have 5 minutes to spare. 
  
Oh! And before I go... I bought these beautiful fabrics at JoAnn's the other day. 
 
 Any guesses as to what they'll be used for? You'll just have to wait and see!

14 September 2010

Sewing for the Kids {a week of}

 Elsie Marley is hosting a challenge for all sewers {sew-ers} on all levels from "wanna-be" to pro. If you own a sewing machine I beg you.. take next week as your push to pull it out, dust it off if you must and commit to a week of sewing with me. 
She's even kind enough to put up ideas every day this week with some free tutorials.
So, now the question is ... what to make?

 
 In case you're not convinced to join in yet... here are something of my ideas... maybe these will get your creative juices flowing! 

Captain America t-Shirt that will make the Hubs smile? {freezer paper stenciling}

 What's that? It's cold? Make it a long sleeve T, please.  

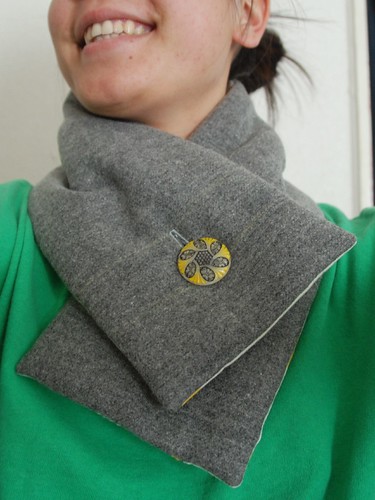
What about a button scarf? Make is kid-sized? I think I will. 

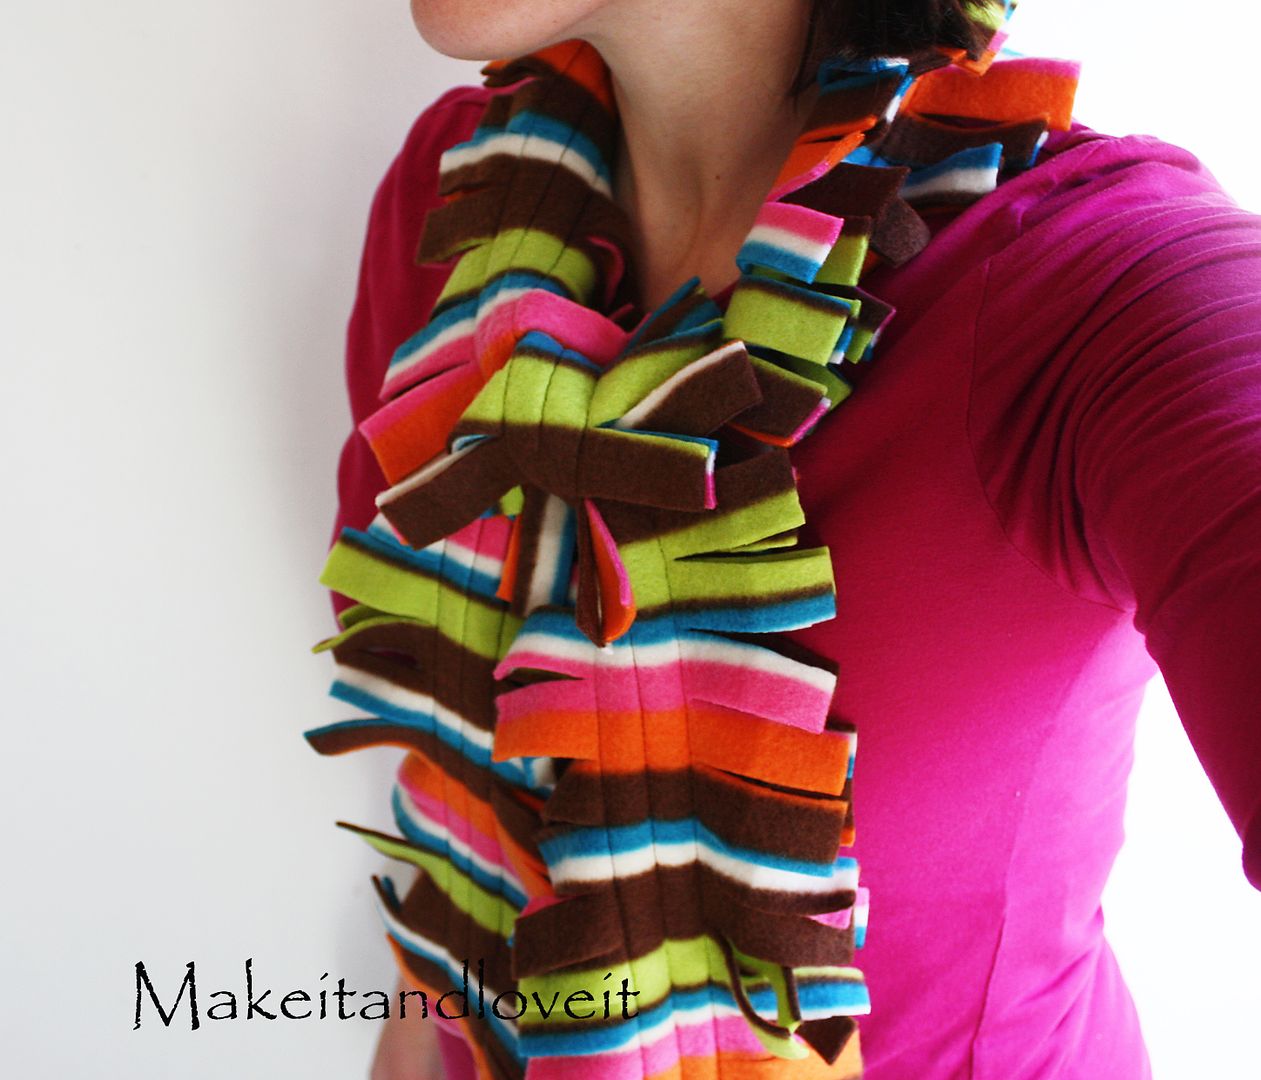
 Or what about a fringed scarf

Martha's got some simple fleece hats

Oooo! A hooded fleece vest! AND "IDIOT MITTENS" {since those are impossible to find I may just make a pattern of my very own}! Oh the possibilities! 

Thinking about participating but need to do it on the cheap? Stop by Goodwill, Savers, what-have-you and grab an extra large t-shirt for knit fabrics... fleece jackets for fleece... big people sweatshirts to make into little people sweatshirts.

So... what are you going to make? Any thoughts on what I should make? 
Hello? Is anybody there?

13 September 2010

Grape Juice {the light version}

The original recipe I gave you was straight out of the Ball canning book. This recipe make a very dark, very thick juice. Hubs and I prefer it watered down with equal portions of water. Your work goes a lot way.
This version is courtesy of my mother-in-law who's a teacher and is a bit busy during the harvest season. This is a SUPER easy, SUPER fast recipe. If you can get your hands on fresh Concord grapes, there's no reason not to give this a shot.


Yup, that's it.

*Keep in mind, you don't need a "canner" to boil your jars. You just need a deep enough pot to get 1" of water higher than the lid of your jars. In other-words, you can do this without the special, fancy equipment.

10 September 2010

{Lemon Glazed Cookies}

As soon as I tasted these amazing cookies I knew the recipe must be shared! Thankfully, my dear friend, Jenn was happy to pass on the recipe and went one step further to write the post for me. I'm sure her hubby didn't mind!
But enough from me... Here's Jenn...

So Krystle asked me to "guest blog" my Lemon Glazed Cookie recipe. I first made these cookies for a crowd (including Krystle) at a girls night I hosted. They were a hit. I made them again for my dear old British Grandma who loves anything lemon and sour (it's a British thing...) She loved them; she says they're "wonderful" with her tea. Now, the cookies are a constant request at almost every event I attend (along with the molasses cookies I make, recipe courtesy of Mom-Duff, strange combination if you ask me!)


Glazed Lemon Cookies
 The ingredients you will need:
Cookies:
3/4 cup granulated sugar
2 Tbs. grated lemon zest
2 Tbs. fresh juice from 2 lemons
1 3/4 cup all purpose flour
1/4 tsp. baking powder
1/4 tsp. salt
12 Tbs. (1 1/2 sticks) cold unsalted butter
1 large egg yolk
1/2 tsp. vanilla extract

Glaze:
3 Tbs. fresh lemon juice
1 1/2 cups powered (confectioner's) sugar


For The Cookies:
Cut the cold butter into ½ inch cubes and refrigerate until ready to use
 
 
In a food processor, process the granulated sugar and lemon zest until the sugar looks damp and the zest is thoroughly incorporated, about 30 seconds.
 
In a separate bowl, whisk together the flour, baking powder, and salt. Add to the lemon sugar mixture and pulse to combine, about ten 1-second pulses. Scatter the cold butter pieces over the dry ingredients and pulse until the mixture resembles fine cornmeal, about 15 1-second pulses. 

In a separate small bowl, whisk together the egg yolk, vanilla, and lemon juice. With the processor running, add the juice mixture in a slow, steady stream. Continue processing until the dough begins to form into a ball (10-15 seconds.)

Turn the dough and any dry bits onto a clean work surface. Working quickly, gently knead the dough together until no dry bits remain.

Shape the dough into 2 logs, about 1 inch in diameter and wrap in parchment paper.

Chill the dough until firm and cold, about 45 minutes in the freezer or 2 hours in the refrigerator.

Adjust the oven racks to the upper- and lower-middle positions; preheat to 350 degrees.

Line 2 large baking sheets with parchment paper or silicon cookie liners. Remove the dough from its wrapper and slice about 1/3 inch thick; place on cookie sheets.

Bake until the cookies begin to turn light golden brown, about 12-15 minutes. Be sure to rotate the cookie sheets back to front and top to bottom halfway through baking time to ensure even baking. Cool cookies on baking sheet for about 5 minutes then transfer to wire racks and cook completely.

For The Glaze: Whisk the lemon juice and the powdered sugar together until smooth.

Once the cookies are completely cooled, dip the top of each cookie into the glaze and return to the wire rack to set and dry, about 1 hour.

Tips:
*The dough can be kept in the refrigerator for up to 3 days and in the freezer for up to 2 weeks before baking.
* For bigger cookies, roll the dough into 1 log, 2+ inches in diameter and bake for a few minutes longer.
*The recipes suggest the cookies are best the day they are baked and glazed so they stay crisp. I prefer the cookie a little softer and chewer so I bake them a day ahead and glaze them the day they will be served.

These cookies are a combination of Real Simple “cookie of the day” email and from America’s Test Kitchen’s “Baking Illustrated” cookbook.

LinkWithin

Related Posts with Thumbnails