He tends his flock like a shepherd: He gathers the lambs in his arms and carries them close to his heart;
he gently leads those that have young
. {Isaiah 40:11}

Showing posts with label All Things Canning. Show all posts

26 September 2012

Homemade Applesauce (Baked)

There are few things like the smell of cinnamon and apples lingering in the kitchen as apples bake in your oven.

This recipe is super simple and the results are worth every bit of effort required.
Try it!
You won't regret it!
I used to cook my apples on the stove top but during my last round of making sauce I continually burned the apples because I lost track of what I was doing. Baking the apples made them come out perfectly soft and evenly baked every time.
You'll Need: 
Apples, of course! My favorite mix is Macoun and Cortland
Cinnamon (optional)
Nutmeg (optional)

What To Do:
Rinse the apples in large tub of water.
I do this with a sink full of cold water and 1/4 c or so of white vinegar and let the apples sit for about 10 minutes, stirring them up occasionally to make sure they've all been in the vinegar. 
Set oven to 350. 
Core the apples.
There's no need to peel because the skins add natural sweetness and a fun pink color.
Peel if you'd like but if you don't need to... why bother? Of course, if you don't have a food mill or would just rather use a blender, food processor, or potato masher to mash the apples, then peeling is a good idea.
Cut apples into slices. I cut each apple into about six pieces. Remember, this is the easy way!
Place onto a baking sheet
If you'd like, line a sheet pan or other baking dish with foil. I opted to but the apples didn't stick at all so it's not really necessary.
If using, prinkle with cinnamon and nutmeg. I didn't measure, I just eyeballed but I'd guess I used about 2 tsp of cinnamon per pan and about 1/4-1/2 tsp.
 Bake apples for 30-45 minutes.
I used my Roma Food Mill but a traditional food mill works just as well or, like I said before, a blender, food processor, or a potato masher work just fine. Sweet Hubs likes really chunky sauce so I just put the apples in a bowl and stir them with a spoon to get them how he likes them.
And voila!
(old picture, feel free to ignore the label)
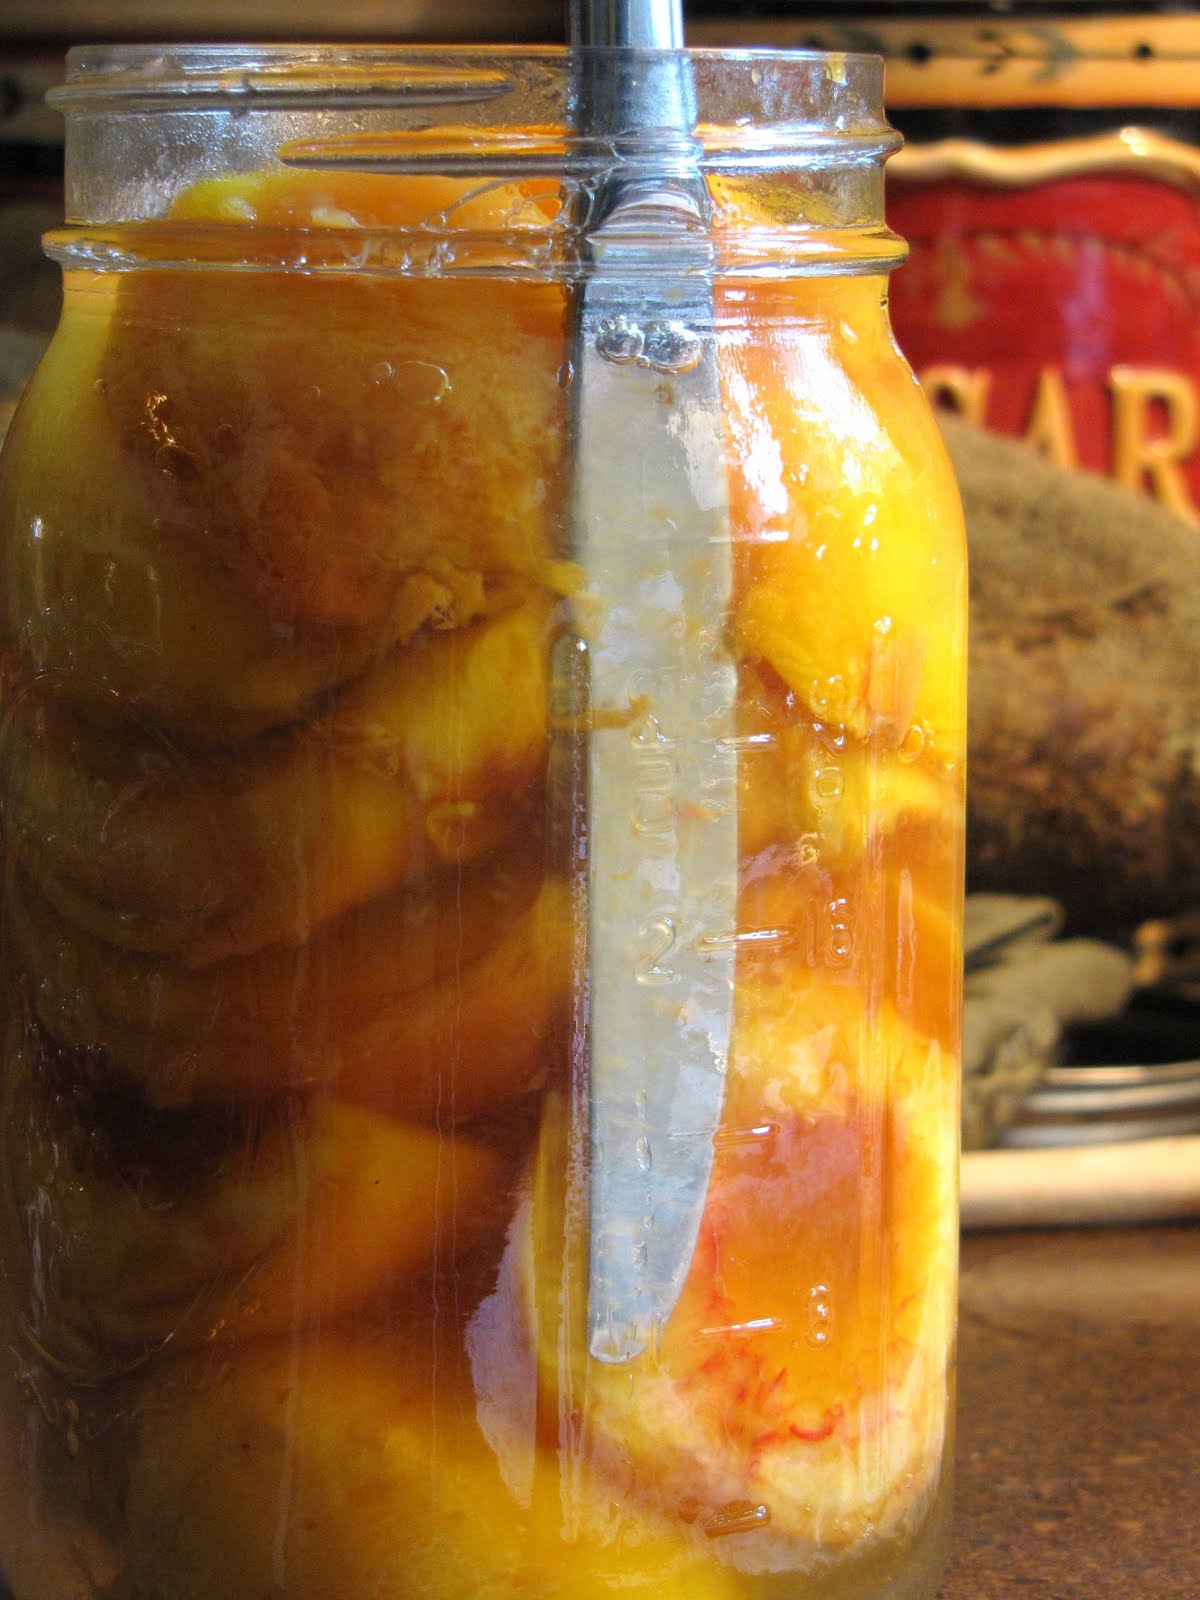
Can this, if you'd like. I prefer to put them in quart size mason jars and freeze them when I have the space.
I have recently found it quite handy to put sauce in 4 oz jelly jars and freeze them for the kids' lunch boxes. When I'm packing their lunches I pop them in and as they thaw they act as an ice pack too!

27 August 2012

Berry Wine Jelly Recipe

I've been canning these days.
The end of the season is usually when I begin to feel the "Oh shoot! I better get canning" feeling.
I've stuck to my two standbys ... Tomato Soup and Peaches...
and branches out to tomato sauce and, one of my favorites, Berry Wine Jelly.

I originally found the recipe for the jelly in the Ball Complete Home Canning Book.
It's very simple, especially when you cheat a little to save time.
The results are a delicious, smooth, sweet strawberry wine flavored jelly.
If this sounds even remotely good to you I highly recommend trying it at least once.

What You'll Need:
1 cup strawberries, stems removed
2 ½ cups dry white wine
3 ½ cups granulated sugar
1 pouch liquid pectin
4 oz canning jars (Ball says the recipe makes 6 jars. I've had once recipe make up to 10 before)

What To Do:
Ball suggests using a potato masher to crush your strawberries... I whipped out the ol' blender.

Threw in the wine and strawberries and pulsed until the strawberries were thoroughly pulverized.
Pour mashed contents into jelly bag or sieve lined with several layers of cheese cloth and let sit over a bowl to drip for an hour.
After an hour pour contents of the bowl into a sauce pan, add sugar, and heat until it no longer stops boiling when stirred
During this step is a good time to get your jars ready for canning by laying them out on the counter and filling them with boiling water.

Once the right boil is reached add liquid pectin and continue to boil, this time stirring constantly for two minutes. Then quickly remove the pan from the stove, skim off the foam with a spoon, dump the hot water out of the jars and fill them with the berry wine leaving 1/4" headspace.

For me... this next step is the trickiest part. Trying to get 4 oz jars to sit in a water bath rack is nearly impossible for me without burning myself and cursing out loud.
a lot.
Because of this I have begun to drop the rack to the bottom before adding the jars and using tongs to place them gently on the bottom.  
Once you've made it past getting the jars in the water, wait for the water to reach a rolling boil again then process for 10 minutes. 

Let cool, store and enjoy!


25 October 2010

Applesauce

This stuff is so simple that I have no excuse for making only one batch this fall other than sheer exhaustion. 
Maybe next year. 


Step One: rinse/wash/wipe apples
Step Two: core and cut apples into chunks 

You do not need to peel apples for applesauce. The skins make the sauce naturally sweet so no sugar sugar is needed. Plus, the skin is full of nutrients, as is the case with most fruits and veggies, so why not keep them in? Note, keeping the skins will give your sauce a pink color. This is totally normal. 

Step Three: heat apples in a large soup pan until completely softened and nearly applesauce in texture {you can add 1/4 c of water to the pan to prevent scorching until the apples naturally release their juices}
Step Four: pour apples into food mill and crank away 
{If you don't have an food mill and like chunky applesauce, you can peel the apples before cooking them and just use a potato masher to break up any large chunks.}

You've just made applesauce!

*If you're jarring... fill pint or quart jars and process in a hot water bath for 20 minutes.

13 September 2010

Grape Juice {the light version}

The original recipe I gave you was straight out of the Ball canning book. This recipe make a very dark, very thick juice. Hubs and I prefer it watered down with equal portions of water. Your work goes a lot way.
This version is courtesy of my mother-in-law who's a teacher and is a bit busy during the harvest season. This is a SUPER easy, SUPER fast recipe. If you can get your hands on fresh Concord grapes, there's no reason not to give this a shot.


Yup, that's it.

*Keep in mind, you don't need a "canner" to boil your jars. You just need a deep enough pot to get 1" of water higher than the lid of your jars. In other-words, you can do this without the special, fancy equipment.

09 September 2010

Grape Juice {the strong version}

Grapes are ready and I'm not talking about just any grapes! I'm talking about grapes from my very own dad's mini-vineyard AND Concord grapes from our "produce guy". {If you've never tasted a fresh Concord grape than you haven't lived!} Of course, that means more canning but that's just plain ol' easy!

OnE: get your grapes

TwO: remove stems, leaves, etc.
ThReE: crush grapes. i used my food processor and pulsed a few times to get a chunky texture.
FoUr: bring crushed berries to a boil over med-high heat and then simmer for 30 minutes until skins are soft.

FiVe: strain through cheese cloth and let sit for at least two hours then refridgerate overnight so sediment falls to the bottom of the pan.
SiX: be careful to not disturb the sediment and refilter your juice. {i can out of cheese cloth so i used a filter from Hubs maple syrup making supplies. thanks, babe!}

 SeVeN: heat juice in large pan but do not let boil and get jars ready for canning.  When hot, ladel into hot, clean jars, leave 1/4" headspace and process for 15 minutes with both pints and quarts.

NOTE: This is a high concentration recipe. A lighter, quicker recipe is coming soon. 

26 August 2010

I'm Not Ignoring You...

I'm busy!! 


Tomatoes & Onions = Dutch Tomato Soup {Nope, Nothing Dutch About It!}   
         Plums & Pears = Miss Mak's meals for the winter
                   Green Beans = So I Don't Have To Buy Them Frozen
                              Raspberries = Chocolate Raspberry Sundae Topping {For Mommy}

12 August 2010

{Canning Peaches}


if you can boil water, you can can. consider the following a quick guide to canning peaches. if you have questions, feel free to ask me. if you are brand new to canning and have lots of questions, i highly recommend the Ball Blue Book or Ball Complete Book of Home Preserving to get you started. 
so, without further ado... my setup...

{above}
cold water source to cool peaches : hot water source to keep jars warm
{below} my stovetop... small pan to boil water for jar tops : pan of simple syrup {1 1/4 c sugar and 5 1/2 c water, boil then keep hot} : large pot for boiling jars {i use a hot water canner} : pot of boiling water to peel peaches

and here's how it's done...
fill your jars with hot water to warm up the class or, as i do, stick them into a sink full of hot water. let them sit until you're ready to pack them.


to peel: bring a pot of water to a rolling boil with enough water to cover the peaches and boil for 60 seconds. immediately drop into cold water and let sit for a couple of minutes. doing this loosens the skins and the peels practically fall off. cut in half by making a cut all the way around the pear and then wiggling the knife to work the halves apart or cut them into slices. remove the pit. {i was told that putting a peach pit into each jar helps keep the peaches from discoloring over time. i cannot confirm this to be true but i do it just the same so at this point, save your pits if you'd like.} 


{above} you'll notice that the top peach's pit broke into two. in my experience, this means the peach is very ripe. it will work just as well and taste just as good but it may be a little mushy and not cut as easily as the peach below it with the pit that stayed in tact on one side.

how beautiful are these?!
while you're cutting up all your peaches, boil water in a small pan and add your lids. mix your water and sugar together and boil to make your simple syrup. keep this hot and handy for the next step. 


fill the jars with peaches so they're tightly packed but don't push so hard that you start squishing the peaches. using a ladle, pour in the hot simple syrup into the jar to the large rim at the neck of the jar. use a clean knife to slide down the side of the jar and wiggle it to release the air from in between the peaches and top off the jar with syrup  and leave 1/2" gap known as "headspace". 


once jar is filled, use a warm towel to wipe the rim of your jar and put the lid in place. screw on a band but only to fingertip-tight, NOT tight tight. place cans into canner on wire rack to keep warm until all your jars are filled.


hot water baths hold 7 jars. once the rack is filled, lower it CAREFULLY down into the water and bring it up to a rolling boil. once this is achieved, boil pint jars for 20 minutes and quart jars for 25. then turn off the burner, remove the lid, and let cool for 5 minutes before removing.


let jars sit out on your counter overnight until they cool and then store until you're ready to eat.  
 
these are great over vanilla ice cream or with yogurt!

LinkWithin

Related Posts with Thumbnails